🎶“You’re a mean one…Mr. Grinch…”🎶
Hey everyone! Carly here! This weekend Jeanine is shooting our super amazing Whoville set!!! If you have been stuck on some outfit ideas, I’ve been a busy little “Who Mom” this week getting outfits ready for both Jeanine’s son, James, and my son, Dylan, for the Whoville set!! If you are stuck on something for you or your kiddos to wear…and need some “grinch-spiration” 😉….here are a few easy outfit projects inspired by the Grinch himself!!
First, I did James’ shirt. Originally, I was going to use my silhouette machine and design and iron on vinyl but I decided it would probably come across better by hand.
Materials:
- Green t-shirt
- Chalk
- Paint Pens
- Cardboard
- Red Glitter
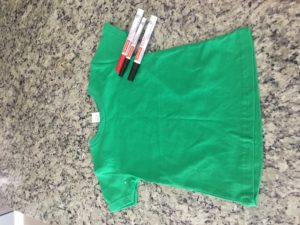
Step 1: Put cardboard inside shirt so paint doesn’t bleed through to back of shirt.
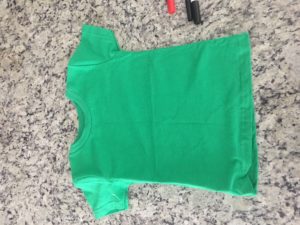
Step 2: Draw your design in chalk. We chose to do the heart grows 2 sizes look for this shirt.
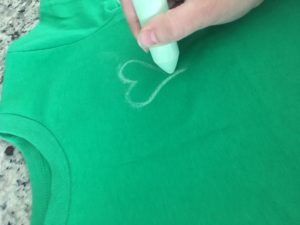
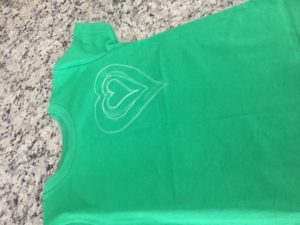
Step 3: Paint pens to do the hearts. I used the skinny tipped ones to have better control.
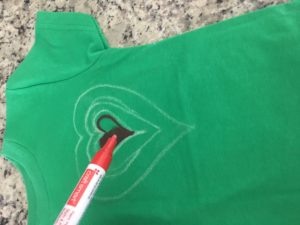
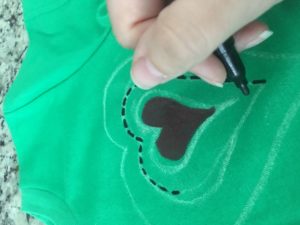
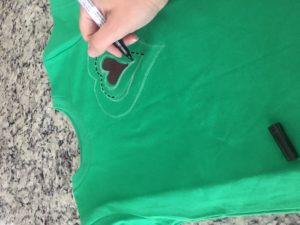
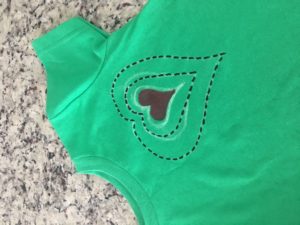
Step 4: Add the numbers also in paint pen.
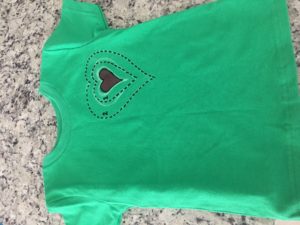
Step 5: You will likely need to do multiple coats of the red heart because the shirt color is darker to make it really stand out. I did 5 coats. I also added a tiny bit of red glitter after the last coat of paint pen.
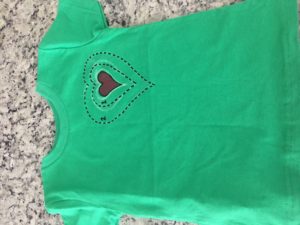
Step 6: Take a dry towel and blot off the chalk. I took a baby wipe to a couple of spots. Make sure you do this carefully, dab do not scrub, because you don’t want the paint lines to smear even after they are dry.
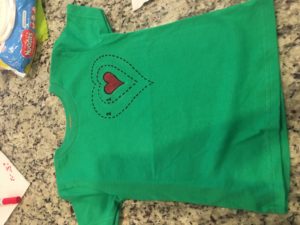
See the finished product at the end of the blog!!!
The second shirt I did was a more literal interpretation of the Grinch. I’m dressing my daughter as a little Cindy Lou Who. My mom (who is much better with a sewing machine than I am) sewed her a pink nightgown to wear for the photos. I needed to come up with something to make my son the Grinch!
Materials:
- Santa Suit Pajama Top (I got the PJ’s for $2 at a kids resale shop)
- Scissors
- Craft Glue
- Clothespins
- Plastic Ziploc Bags (to keep glue off my granite countertop)
- Green Fur Fabric (From Joann’s Fabric) —> FYI this stuff is a pain to work with. It sheds like CRAZY!!! It was hard to find locally, but you can order online, or even use green feather boa if you can’t find the fur.
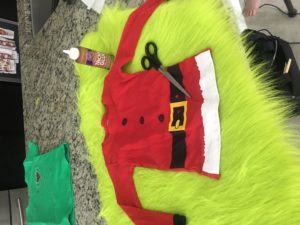
Step 1: Measure twice and cut once. I wanted to do the sleeves and the bottom. I chose not to do the neck area because I doubt my almost 3 year old would tolerate the fur close to his face and I don’t blame him. I also recommend that you kind of “comb” up the fur where you are cutting for less shedding.
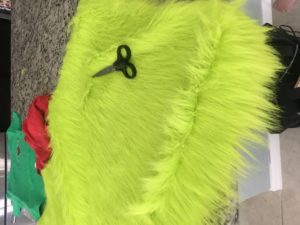
Step 3: Time to glue. I did the sleeve first, then put it on the outside of the cuffs to cover up the black cuff and make it look like his fur is sticking out of his “suit”. I toyed with the idea of adding some sort of faux white fur above the green to make it look more like a Santa suit, but decided against this. I recommend gluing one side first, then doing the second side so you don’t move it around too much. Use the clothespins and make sure you line it up where the seam is on the shirt sleeve.
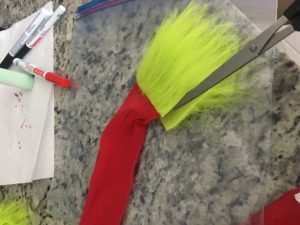
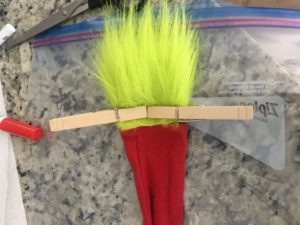
Step 4: Glue the bottom. This is done in 2 parts. I centered the fabric I cut on the front of the shirt (flipped up because I want the fur facing to the outside but glued underneath this time). I glued the front side and pinned it with clothespins and let it dry. Then once it was dry I did the back of the shirt and pinned both the back and the front.
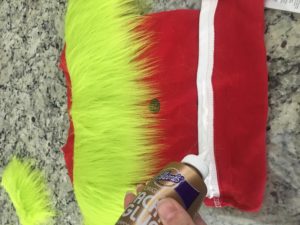
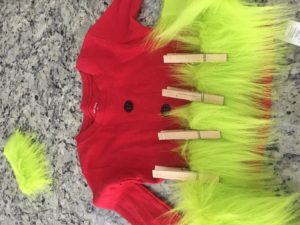
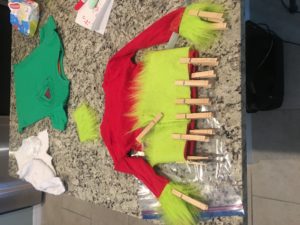
VOILA!!!! 2 fun festive and easy Grinch inspired shirts to celebrate Whoville!!!
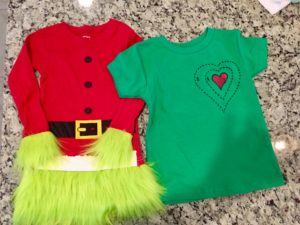
Are you making your own Whoville outfit or attempting one of these?? Share it with us!!!
 Jeanine McLeod is the owner and lead photographer of Cloud 9 Studios, a full-service photography studio located in Wesley Chapel, Florida, just north of Tampa.
For almost 20 years, Jeanine has specialized in family, children, and baby photography that celebrates the joy and connection of family life. She’s best known for her storytelling approach to first birthday and milestone sessions, creating portraits that capture love, laughter, and the magic of childhood.
Jeanine’s mission is simple — to go through life with her clients, documenting each chapter of their family’s story through beautiful, heartfelt images.
When families search for first birthday photos in Wesley Chapel or family photographers near Tampa, Cloud 9 Studios is where the experience becomes as meaningful as the portraits themselves.


