So, you followed all our great 6 Tricks for your Trick Or Treat Photos from our blog last week…now, what to do with all those great Halloween photos??? Our new Social Media Manager, Carly, went ahead and tried out some fun Fall photo crafts that you can do with your little ones to cherish those fabulous photos for years to come & have fun at the same time!
Check it out!
Hi everyone! I’m Carly & I am the new Social Media Manager with Cloud 9!! You will start seeing more fun ideas like this upcoming on future blog posts for you and your family so let us know if you try them out, how you like them, & share your success stories!!
The first project I attempted was with Salt Dough Pumpkins. There are a TON of recipes online. The one I decided to try out was this:
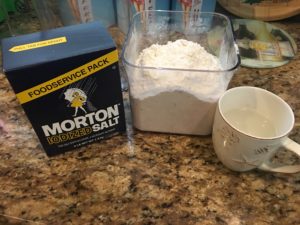
You will need for the Salt Dough:
1 cup salt
2 cups all purpose flour
3/4 cup really hot water
Kitchenaid or Hand Mixer
Rolling Pin (or wine or soda bottle)
Sheet Pan
Food Coloring (If you are doing all one color & don’t want to paint)
You will need for the rest of the project:
Cookie Cutters, Glass or Knife to carve shapes
Acrylic Paints & Paint Brush or Paint Sponge
Paint Pens (optional – nice if you want to add names or dates to ornament)
Copies of Photos
Hot Glue Gun
Ribbon or Twine
Scissors (to cut photos and ribbon)
Directions:
- Put salt and flour in bowl. Slowly add hot water. I used my Kitchenaid for this on low but you could use a hand mixer or use a spoon and hand mix. IF you want to color the dough with food coloring, you would add the coloring to the hot water before adding to the dough.
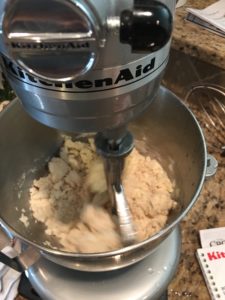
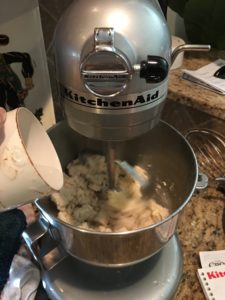
- Mix together til a dough forms into a ball like shape. You may need to kick up the mixer a little higher once all the water is added.
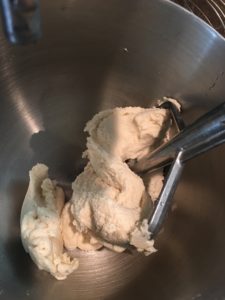
- This is how it should look. If you don’t want to use right away put in a plastic bag.
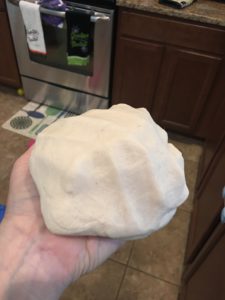
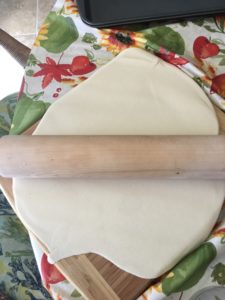
- Next we get ready to roll it out.
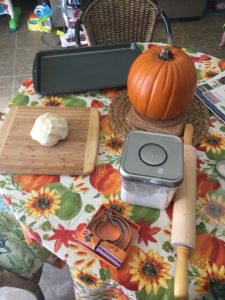
- If the dough is a little sticky just use a little more flour on the rolling pin & dough while rolling. Roll it to the thickness you prefer. I did about 1/4 inch or so.
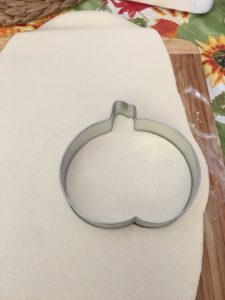
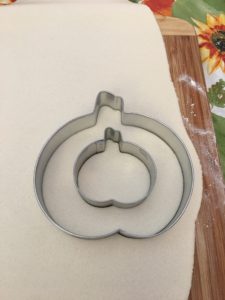
- Cut out your shapes. I got this awesome set of 4 pumpkin cookie cutters at Target last year after Halloween on clearance for $0.20. If you don’t have a pumpkin shaped cookie cutter you can either free hand it with a knife or if your cookie cutter is too small, you can cut around the shape of the smaller one as a guide. For the center you can use a smaller pumpkin like i did, or jut take a small glass or circle cookie cutter to make the hole for the photo.
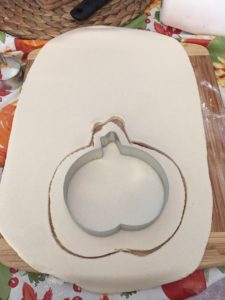
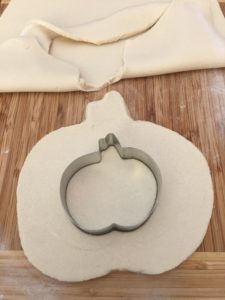
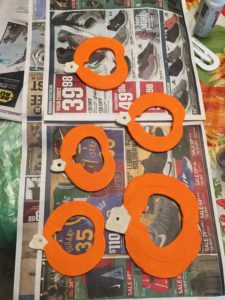
- This is how they will look cut. You can also put some carved in details to add character if you are so inclined. I added details on the larger one & left the smaller ones as is.
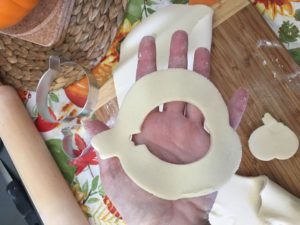
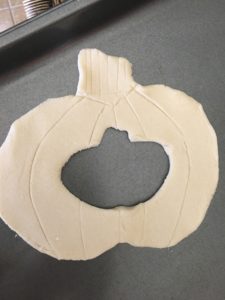
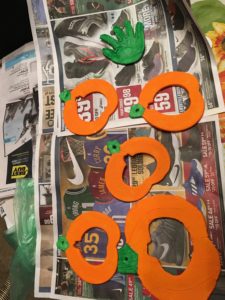
- For the larger pumpkin I decided to add some extra personalization and put my son’s hand into the dough and then cut around it to use as the “leaf” of the pumpkin. He was not super cooperative with this (he’s 21 months old), but we made it work!
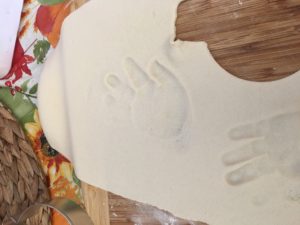
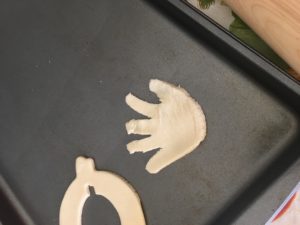
- If you plan on having them hang, make sure you make the holes!!! I used a random metal tool I found in our tool box but the bottom of your paint brush would also work well for this.
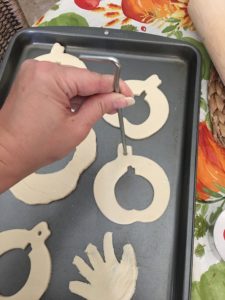
- Set aside & air dry overnight. The next day cook for 120 degrees for 3 hours. My oven didn’t go that low, so I put it as low as it went (175 degrees) and it was fine. Let it dry overnight again after baking if you can to really make sure its dried out.
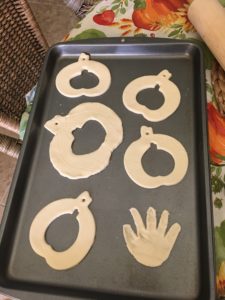
- Figure out which photos you want to use.
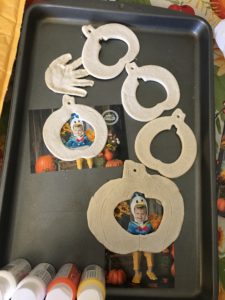
- Decorate with acrylic paints.
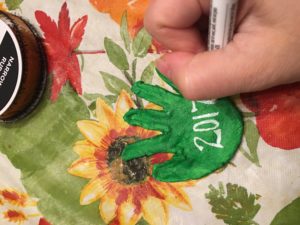
- Use paint pen to add any fine details like the year or names.
- Measure & cut photos and preheat your hot glue gun. I recommend gluing in sections so the glue doesn’t harden up on you in the middle of placing the photo.
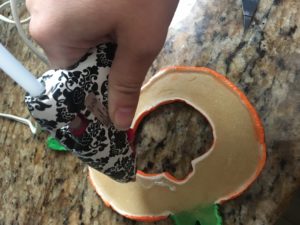
- Glue on any accents and add your ribbon or twine.
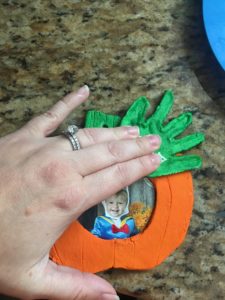
- Success!!!
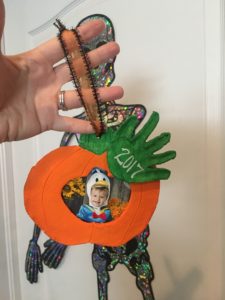
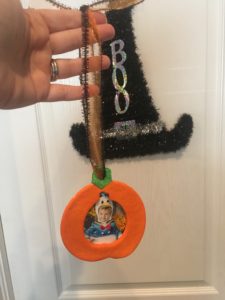
The big one I plan on keeping for us as a keepsake & the little ones I’m going to give as gifts to all the grandparents! Fell free to personalize & embellish however you want!
The second Fun Fall Photo Craft I attempted was something I came up with on my own. I went to Michael’s to be inspired and found some fun shaped wood letters….check it out!
BOO!
SO I found these great letters at Michael’s and thought it would be fun to do a Halloween Photo Craft with them!!
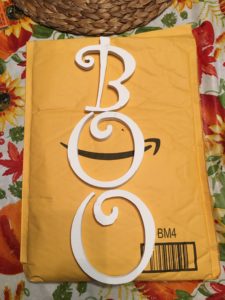
The letters came white like this. I bought some Orange, Yellow, White, & Glitter acrylic paints.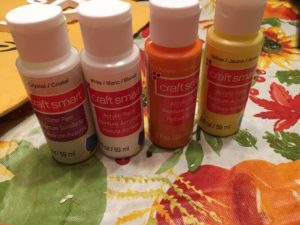
I decided to go with a candy corn color scheme so I painted each letter a different color (including touching up the white on the letter staying white) then I did a glitter top coat on all the letters for a little extra dazzle.
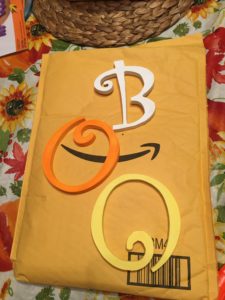
Figure out which photos work best and trim to fit. 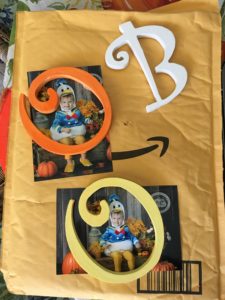
I used a photo from my son’s first Halloween last year and the professional one Jeanine shot at Cloud 9 of him in this year’s costume.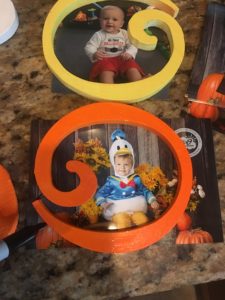
I used my hot glue gun to glue the photos to the letters.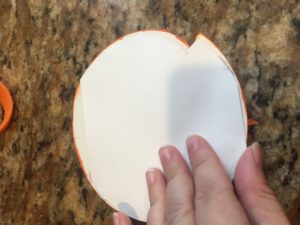
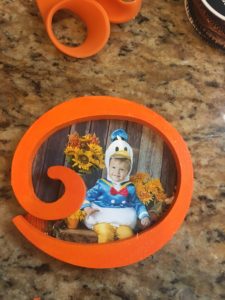
I then lined up the letters how I wanted them arranged (you can do any letters or names you wanted or arrange then up/down or side/side) then I cut a length of ribbon to glue them to.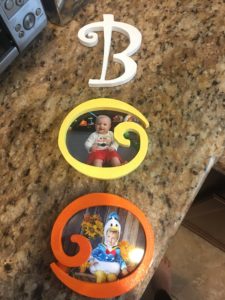
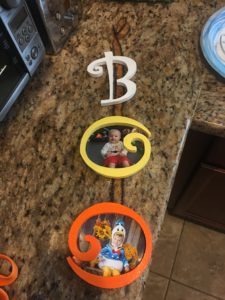
I glued the letters down to the ribbon & tied a knot at the top to hang. Voila!!!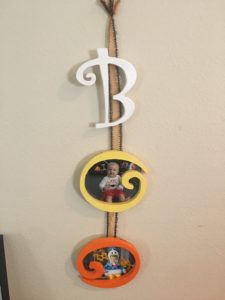
FULL DISCLOSURE: These DIY projects are all subjective & I wasn’t totally in love with the final look. SO, I took it off the ribbon and decided instead of gluing the letters to the ribbon I would glue the letters together and then attach the ribbon.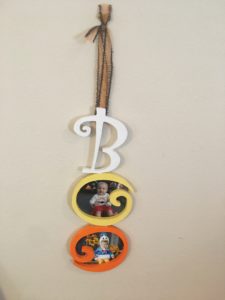
SUCCESS!!! I hope you had fun reading this post & have fun trying out the projects and making them your own! More fun photo projects to come on the Cloud 9 Blog coming soon!!!
 Jeanine McLeod is the owner of Cloud 9 Studios, a Florida based photography studio located just north of Tampa in Wesley Chapel. They specialize in family, children and baby photography and love helping families celebrate their love of family with fun, fresh and beautiful portraits.
